 how-to
How to Prepare Garden Beds for Winter
Table of Contents
- Why Preparing Garden Beds for Winter Matters
- Step 1: Remove Spent Plants and Garden Debris
- Step 2: What to Add to Vegetable Garden Soil in Fall
- Step 3: How to Protect Garden Soil Over Winter
- Step 4: How to Winterize Raised Garden Beds
- Step 5: Clean and Store Garden Tools and Equipment
- Preparing Raised Beds for Spring Success
- When to Call a Landscaping Professional
- Frequently Asked Questions
Last Updated: October 19, 2026
Why Preparing Garden Beds for Winter Matters
Learning how to prepare garden beds for winter is one of the smartest things you can do in fall. A well-prepared bed protects your soil, feeds it for spring, and sets you up for success when planting season arrives.
Winter is harsh on exposed soil. Frost cycles break down soil structure. Heavy rain and snow compact the earth. Nutrients wash away. But a prepared bed stays protected. The work you do now pays dividends months later.
This guide walks you through how to prepare garden beds for winter step by step.
Step 1: Remove Spent Plants and Garden Debris
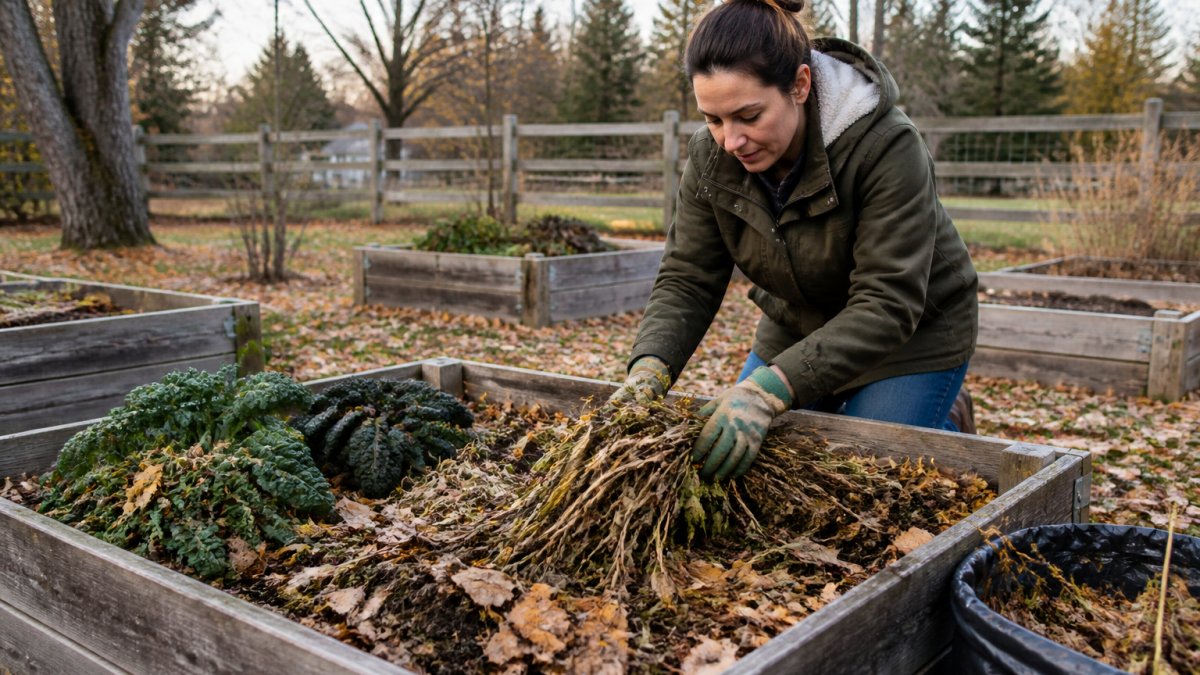
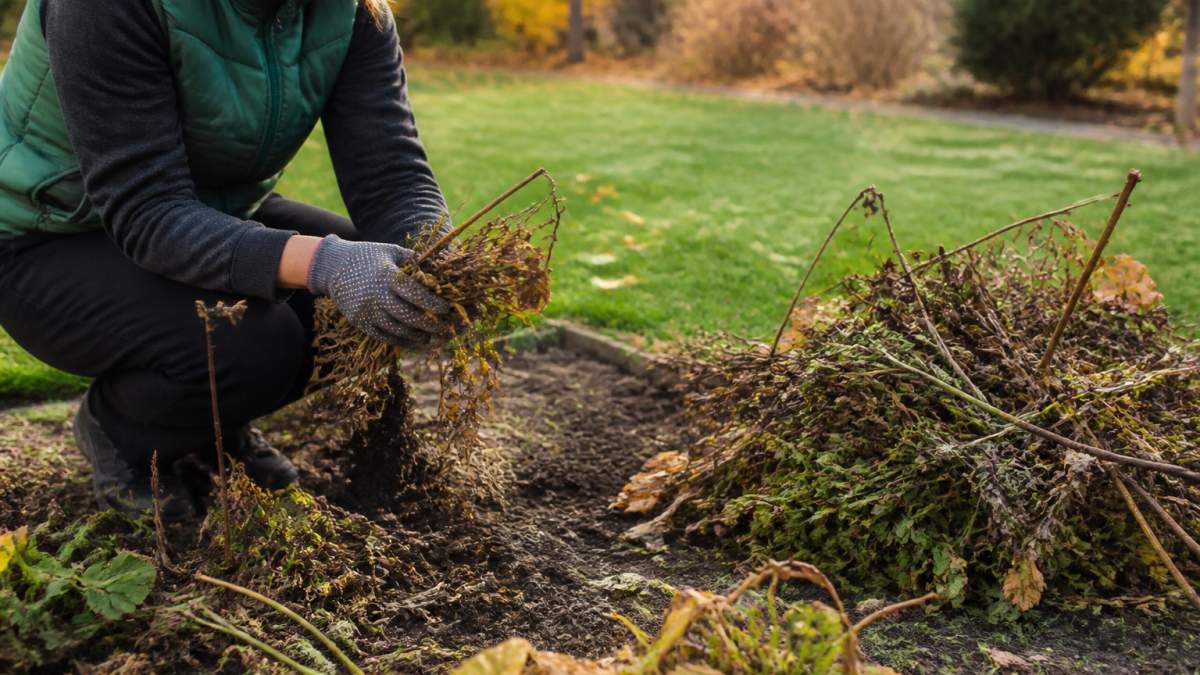
Start by clearing out dead plants, fallen leaves, and garden waste. Remove diseased plant material completely; don't leave it in the bed where disease can overwinter.
Here's what to remove:
- Dead annual vegetables and flowers
- Fallen leaves and twigs
- Diseased or pest-infested plant parts
- Weeds that have gone to seed
- Any plant material that looks diseased or discolored
Leave the roots of perennials in the soil; they'll protect the plant through winter. Just cut the stems back. If you have a compost pile, add healthy plant material to it.
Once the bed is clear, you'll see the bare soil. This is your blank slate for the next steps.
Step 2: What to Add to Vegetable Garden Soil in Fall
Fall is the best window to feed soil, because organic matter has months of cool, moist weather to break down before spring planting. However, the single most common mistake is adding amendments before knowing what the soil actually needs. Spreading compost and lime on a bed that is already alkaline, or piling on phosphorus when the test shows it is high, wastes money and can lock up nutrients for the next crop.
Test first, then amend
A laboratory soil test tells you pH, organic matter, phosphorus, potassium, calcium, magnesium, and often micronutrients. In most regions, the provincial agriculture ministry or a university soil lab publishes sampling instructions and interpretation guides, and many garden centers sell home test kits as a rough first pass. Sample before the ground freezes: take thin slices from six to ten spots across the bed, mix them in a clean bucket, and send about a cup to the lab. Results usually come back within a couple of weeks.
Read the report in this order:
- pH first. Most vegetables prefer a pH between 6.0 and 7.0. If the test shows acidic soil, garden lime raises pH; if it shows alkaline soil, elemental sulfur lowers it. Both take months to act, which is exactly why fall is the right time.
- Organic matter second. If it is below roughly 3 to 5 percent, prioritize compost and shredded leaves. If it is already high, skip heavy compost and focus on mulch.
- Phosphorus and potassium third. Only add these if the test flags them as low. Many home garden soils are already sufficient, and excess phosphorus is hard to correct.
- Nitrogen last. Nitrogen is mobile and leaches over winter, so most fall programs rely on organic matter rather than bagged nitrogen.
Match the amendment to the result
Test result | Fall action |
|---|---|
Acidic pH (below 6.0) | Apply garden lime at the rate on the lab report; work into the top few inches |
Alkaline pH (above 7.5) | Apply elemental sulfur; do not add wood ash or lime |
Low organic matter | Spread a 2- to 4-inch layer of well-rotted compost |
High phosphorus | Skip bone meal and manure; use leaves or straw |
Compacted or clay-heavy | Add compost and shredded leaves; avoid tilling wet soil |
The amendments that work in fall
- Well-rotted compost, the safest all-round choice; spread 2 to 4 inches and work into the top few inches.
- Aged manure, only if fully aged, never fresh, and only when the test shows low nitrogen or organic matter.
- Shredded leaves, free, widely available, and excellent for structure; run the mower over them first so they break down faster.
- Composted bark or leaf mold, good for heavy clay and sandy soils alike.
- Grass clippings, only from untreated lawns, and only in thin layers so they do not mat.
Work amendments into the top few inches with a spade or fork, then water gently so the soil settles. Do not till wet soil, because it destroys structure and creates hard clods that persist into spring.
If your soil looks compacted or poor, this is your chance to fix it. Many gardeners skip soil care and wonder why their beds underperform. Testing first, then amending to the result, is the single best investment you can make. By spring, the soil will be richer, darker, and more workable.
Step 3: How to Protect Garden Soil Over Winter
Once you've added organic matter, protect the soil from erosion and compaction. Mulch is your tool here.
Apply 3 to 4 inches of mulch across the bed. Use:
- Shredded leaves
- Wood chips or composted bark
- Hay (if it's weed-free)
- Straw
Spread the mulch evenly. Keep it a few inches away from any plant stems or tree trunks so air can circulate and prevent rot.
The mulch layer does several jobs at once. It keeps the soil from freezing and thawing repeatedly, which damages soil structure. It prevents winter weeds from taking hold.
Water the bed thoroughly before the ground freezes. Even in fall and winter, soil needs moisture. A good soaking helps settle the mulch and keeps the soil hydrated through the dormant season.
Step 4: How to Winterize Raised Garden Beds
Raised beds are exposed on all four sides, so they lose heat and moisture faster than in-ground beds and are more vulnerable to frost heave. But the right winter routine depends on your climate, your frost dates, and the type of bed. A bed in a short-season, cold-winter region needs different protection than one in a mild coastal climate.
Time the work to your frost date
Work backward from your first expected fall frost. Most provincial extension services and garden organizations publish average frost dates by region, and local garden centers usually know them too.
- Four to six weeks before first frost: stop fertilizing, reduce watering, and let plants harden off.
- Two to three weeks before first frost: clear spent annuals, cut back perennials, and add amendments.
- Around first frost: apply mulch and water deeply one last time.
- After the ground freezes: leave the mulch undisturbed; do not walk on frozen beds.
In colder regions, mulch later so small mammals do not nest in warm soil. In milder regions with wet winters, prioritize drainage over insulation, because soggy soil rots roots faster than cold does.
Match protection to bed type
Bed type | Main winter risk | What to do |
|---|---|---|
In-ground | Erosion and compaction | 3 to 4 inches of mulch; avoid walking on wet soil |
Raised | Frost heave and rapid moisture loss | Up to 6 inches of mulch; top up soil; check structure |
Container | Root freeze and repeated freeze-thaw | Move pots against a wall, group them, or bury the pot in the garden |
Newly built | Settling and bare soil | Fill with compost, mulch heavily, and expect settling by spring |
Raised bed specifics
Check the structure first. Look for rotting wood, loose boards, or damage. Repair or replace before winter stress makes things worse. Add extra mulch, up to 6 inches, and top up the bed with compost and aged manure before mulching, because raised beds settle over time.
If you grow perennials or overwintering root crops in raised beds, mound mulch around the base of plants to protect against frost heave, which pushes plants out of the ground as soil freezes and thaws. Water deeply before the ground freezes, because raised beds drain faster and dry out more quickly.
When not to clean up
Not every stem and seed head should go. Many beneficial insects, including native bees and predatory wasps, overwinter in hollow stems and leaf litter, and seed heads feed birds through winter. Leave healthy stems standing 12 to 18 inches tall and keep a layer of leaves in less visible corners. Remove only diseased, pest-infested, or mildewed material, and dispose of it in the trash rather than the compost.
If your beds are large, numerous, or contain delicate perennials, a local landscaper can assess structure, drainage, and plant protection and handle the heavy work before the ground freezes. For help finding such professionals, visit MyProBook.
Step 5: Clean and Store Garden Tools and Equipment
While you're preparing the beds, take care of your tools. Clean shovels, spades, trowels, and pruners. Remove soil and dried plant material. Wipe metal parts with an oily cloth to prevent rust.
Store tools in a dry place. A shed or garage works well. Hang tools on hooks or a wall to keep them organized and protected.
Garden hoses should be drained and coiled for storage. Drain irrigation lines too. Any water left in hoses will freeze and crack them.
Taking an hour to clean and store your tools extends their life and saves you money. A tool that's well cared for works better and lasts longer.
Preparing Raised Beds for Spring Success
The work you do in fall determines how well your raised beds perform in spring. A bed that's been properly prepared wakes up ready to grow.
By spring, the organic matter you added in fall will have broken down and mixed into the soil. The mulch will have settled and partially decomposed, adding more nutrients.
In early spring, pull back the mulch layer slightly and check the soil. It should be crumbly and dark, not compacted or hard.
The mulch layer will suppress weeds, so you'll spend less time weeding. The enriched soil will feed your plants better. Your plants will grow stronger and produce more.
When to Call a Landscaping Professional
Some garden beds are too large or too complex to handle alone.
A landscaper can:
- Remove dead plants and debris
- Test your soil and recommend amendments
- Add compost and organic matter
- Install mulch and protective coverings
- Repair or replace raised bed structures
- Set up winter protection for delicate plants
Finding the right professional matters. Look for someone with experience in fall garden preparation and soil care. Check their reviews and ask about their approach to winter garden prep.
On MyProBook, you can search for local landscapers in your area. Compare profiles, read reviews from other homeowners, and request quotes from multiple professionals.
A professional can save you time and ensure the job is done right. If you're unsure about soil amendments, mulch depth, or how to protect specific plants, getting expert advice is worth it.
Frequently Asked Questions
When should I prepare garden beds for winter?
Begin preparing beds in late autumn, after the first frost has killed off annual plants but before the ground freezes solid. The exact timing depends on your local climate; aim to finish before heavy snow or sustained freezing temperatures arrive. This gives you time to remove debris, amend soil, and apply mulch while conditions are still workable.
What should I add to vegetable garden soil in fall?
Add well-rotted compost, aged manure, or other organic matter to replenish soil nutrients depleted by the growing season. A 5-10 centimetre layer worked into the top of the bed improves soil structure and water retention over winter. Fall is ideal because the organic material has months to break down and integrate before spring planting.
Should I cover garden beds over winter?
Mulching garden beds protects soil from erosion, moderates temperature fluctuations, and suppresses winter weeds. A 7-10 centimetre layer of mulch, leaf mulch, or straw works well. Avoid piling mulch directly against plant stems, which can encourage rot. For perennials, mulch provides insulation for roots during cold spells.
Can I leave soil in raised garden beds over winter?
Yes, soil can remain in raised beds over winter. However, add organic matter and mulch to protect soil structure and prevent compaction from heavy rain or snow. Raised beds drain better than in-ground beds, so ensure soil moisture is adequate before winter dormancy. Consider cover crops or green manures to prevent erosion and add nutrients.
Preparing your garden beds for winter doesn't have to be complicated. Clear out the dead material, add organic matter, apply mulch, and water well. These steps protect your soil and set you up for a thriving garden in spring. If the work feels overwhelming or your beds are large, connect with a local landscaping professional through MyProBook to get the job done right.